Community
Compatibility and Conformance Test Certification on Open Cloud Platform (K-PaaS)
- AuthorAdministrator
- Date2024.01.03
Compatibility and Conformance Test Certification on Open Cloud Platform (K-PaaS)
In early 2023, we were selected for the NIA public project called “Public SaaS Development/Verification (Public SaaS Track)” and carried out the project from June 12 to December 15.
During the project period, we completed the transition process and, to ensure internal and external validation of the SaaS conversion, obtained certifications from Korea Association of AI Cloud Industry’s “Cloud Service Confirmation System” and Telecommunications Technology Association’s “Compatibility and Conformance Test Certification on Open Cloud Platform (K-PaaS).” The most important aspect of this project was undoubtedly the transition to SaaS. Unlike the traditional on-premises installation method where services are provided directly to customers, SaaS leverages shared resources to enable easy access from anywhere through a cloud-based service delivery model.
As the name suggests, Cloud Service Confirmation System verifies whether the service is properly configured as a cloud service, while the K-PaaS Certification checks whether the service is built on the K-PaaS platform and runs smoothly with proper compatibility.
Here, I will explain several inspection items we were evaluated on during the K-PaaS Certification process.
Full inspection items are as following:
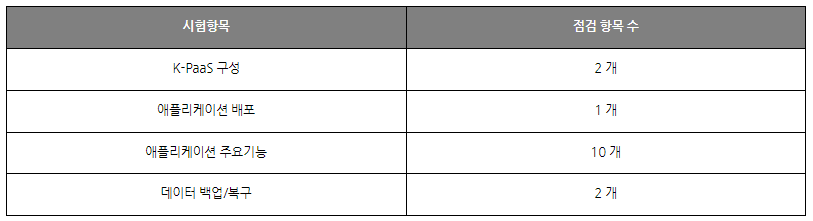
1. K-PaaS Configuration
This verifies whether the SaaS is installed and is operating on the K-PaaS platform and whether the cluster is properly installed and functioning.
It involves checking the Kubernetes environment and ensuring that the master node and worker nodes are operating correctly. If using a CSP, you can confirm the Kubernetes version and cluster configuration via console.
STEG utilized Naver Cloud’s NKS (Ncloud Kubernetes Service), so that it is possible to directly check version and cluster information through console.
Log in to Naver Cloud console and navigate to Ncloud Kubernetes Service > Clusters.
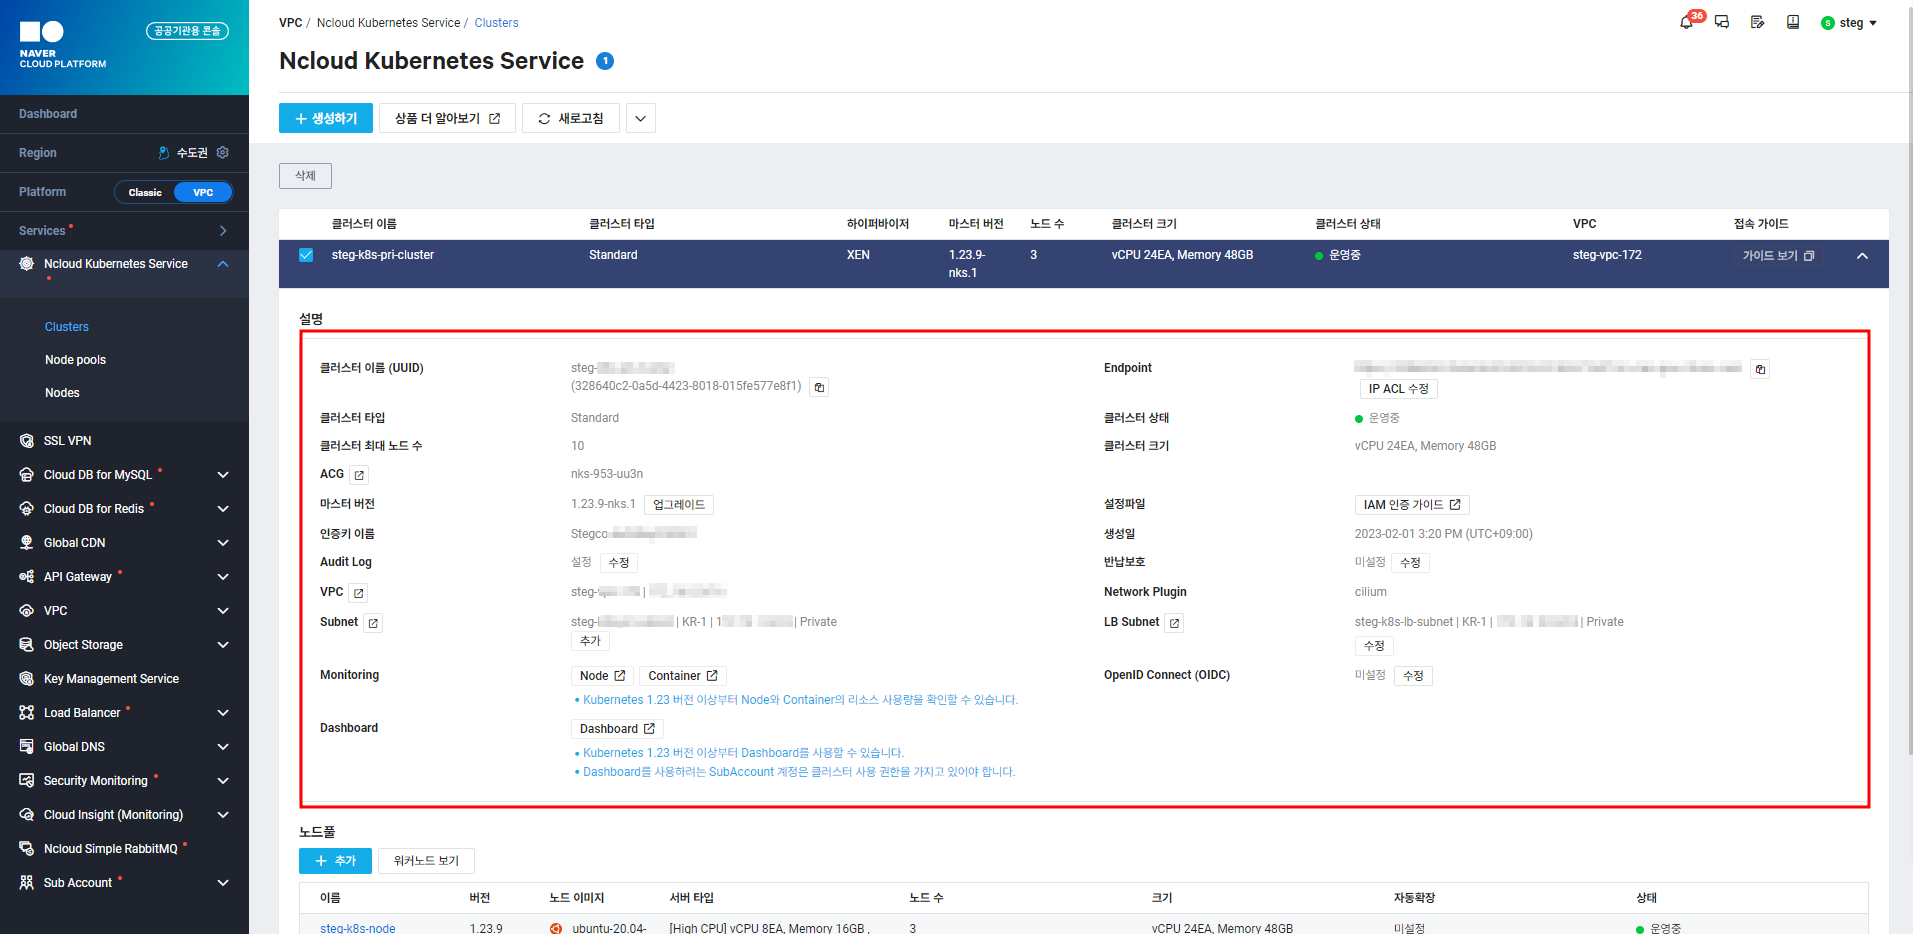
[Figure 1] Cluster Information
[Figure 2] Cluster Information
Additionally, you can verify via Kubernetes commands on the server:
> kubectl cluster-info
: View Kubernetes cluster information
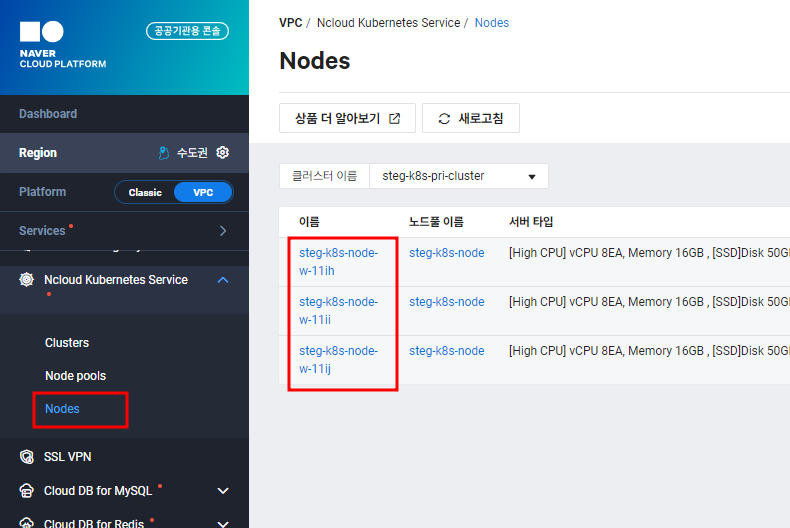
> kubectl get nodes
: View worker nodes
2. Container-Based Application Deployment
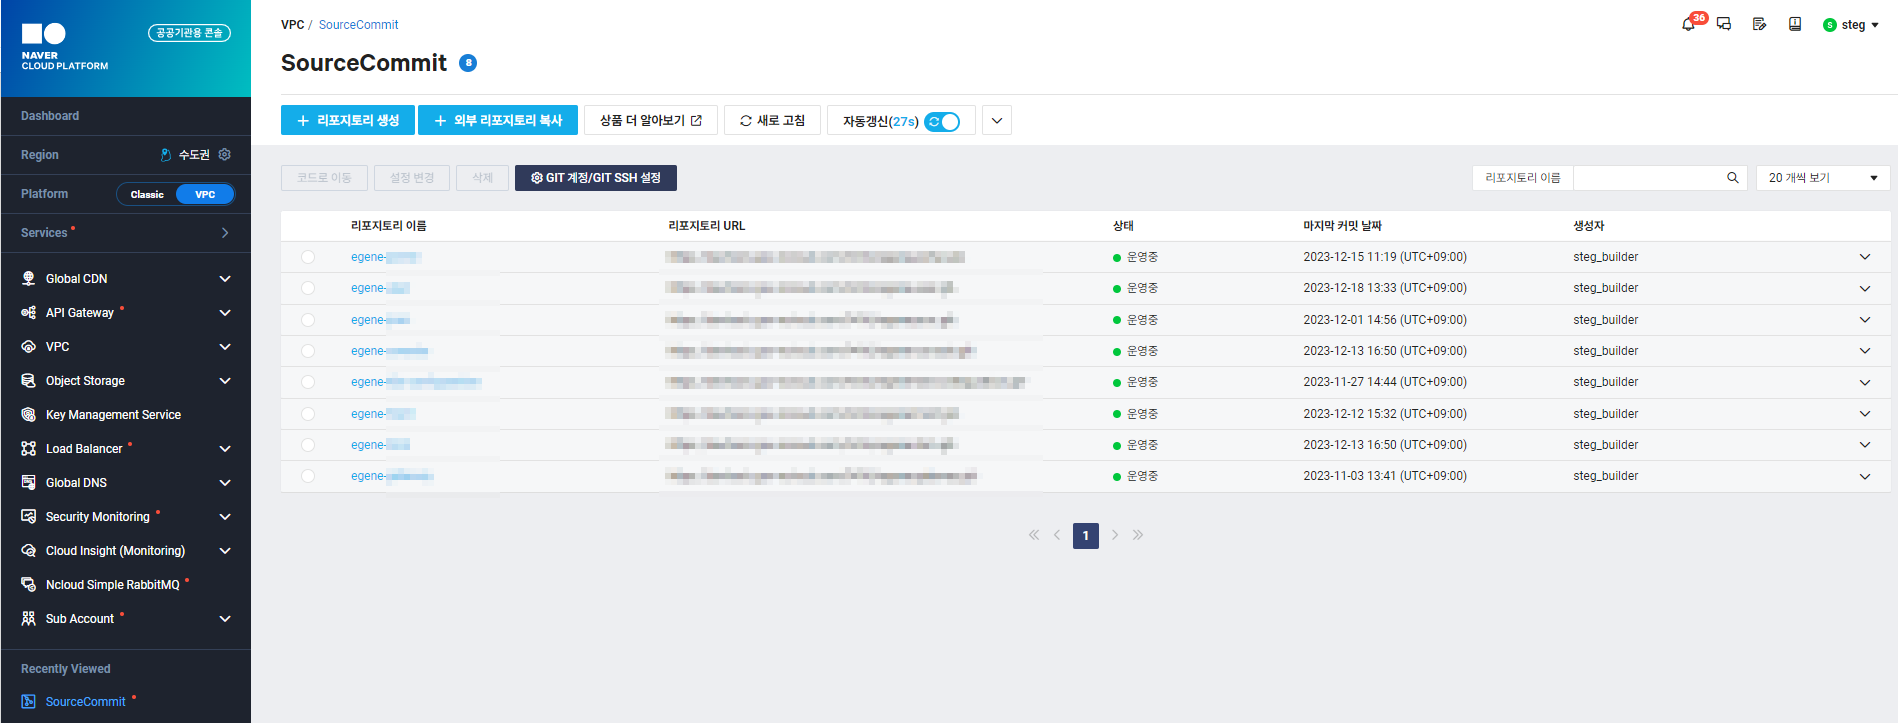
[Figure 3] SourceCommit
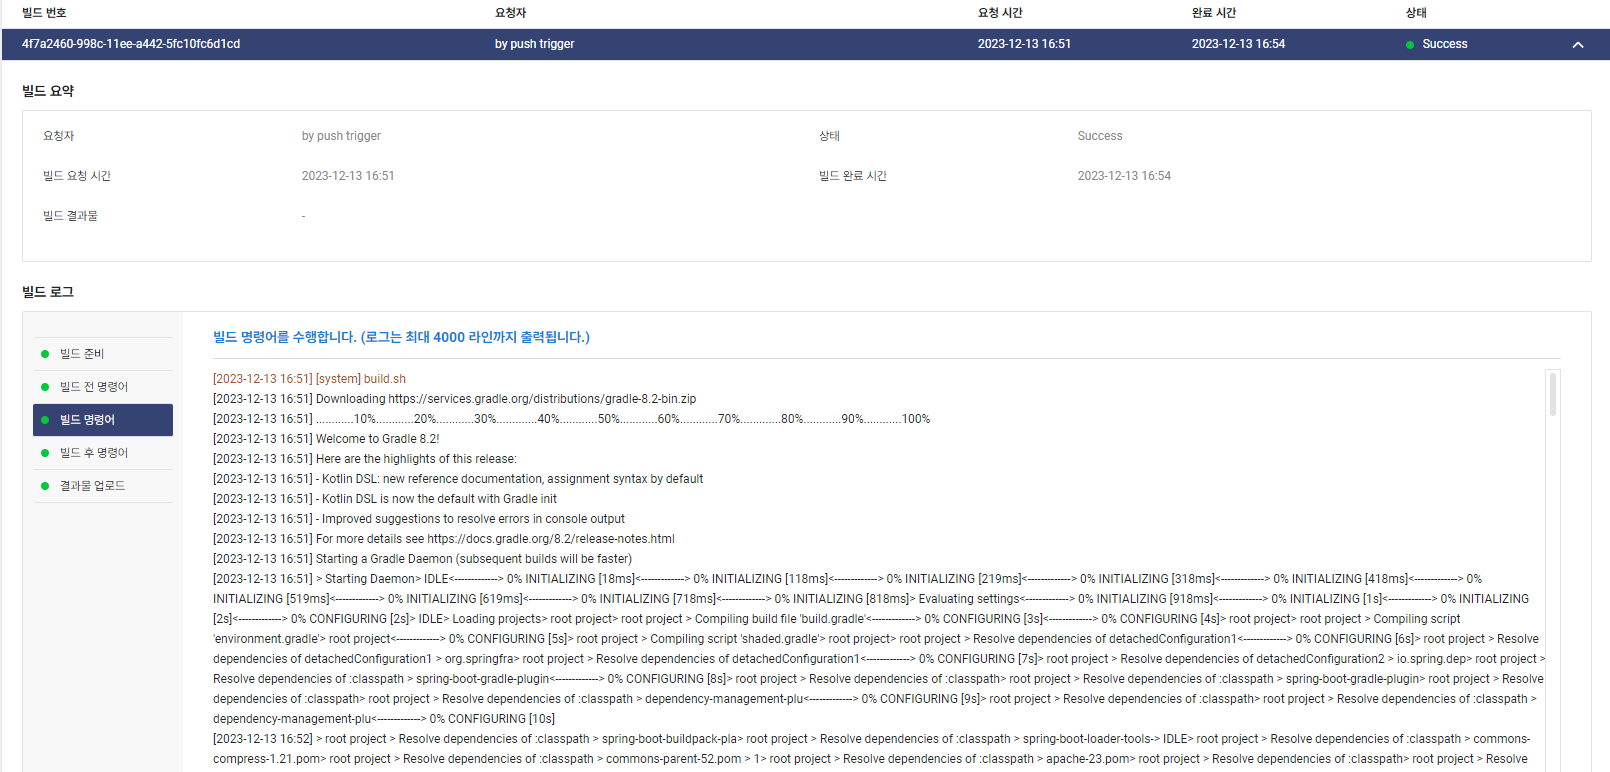
[Figure 4] SourceBuild
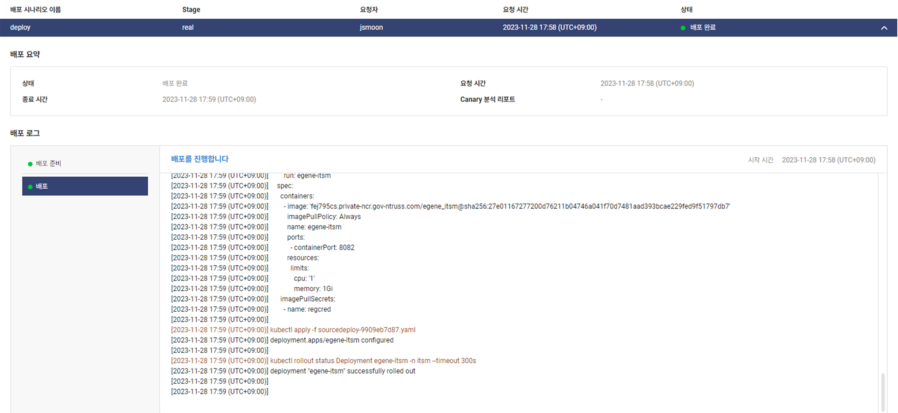
[Figure 5] SourceDeploy
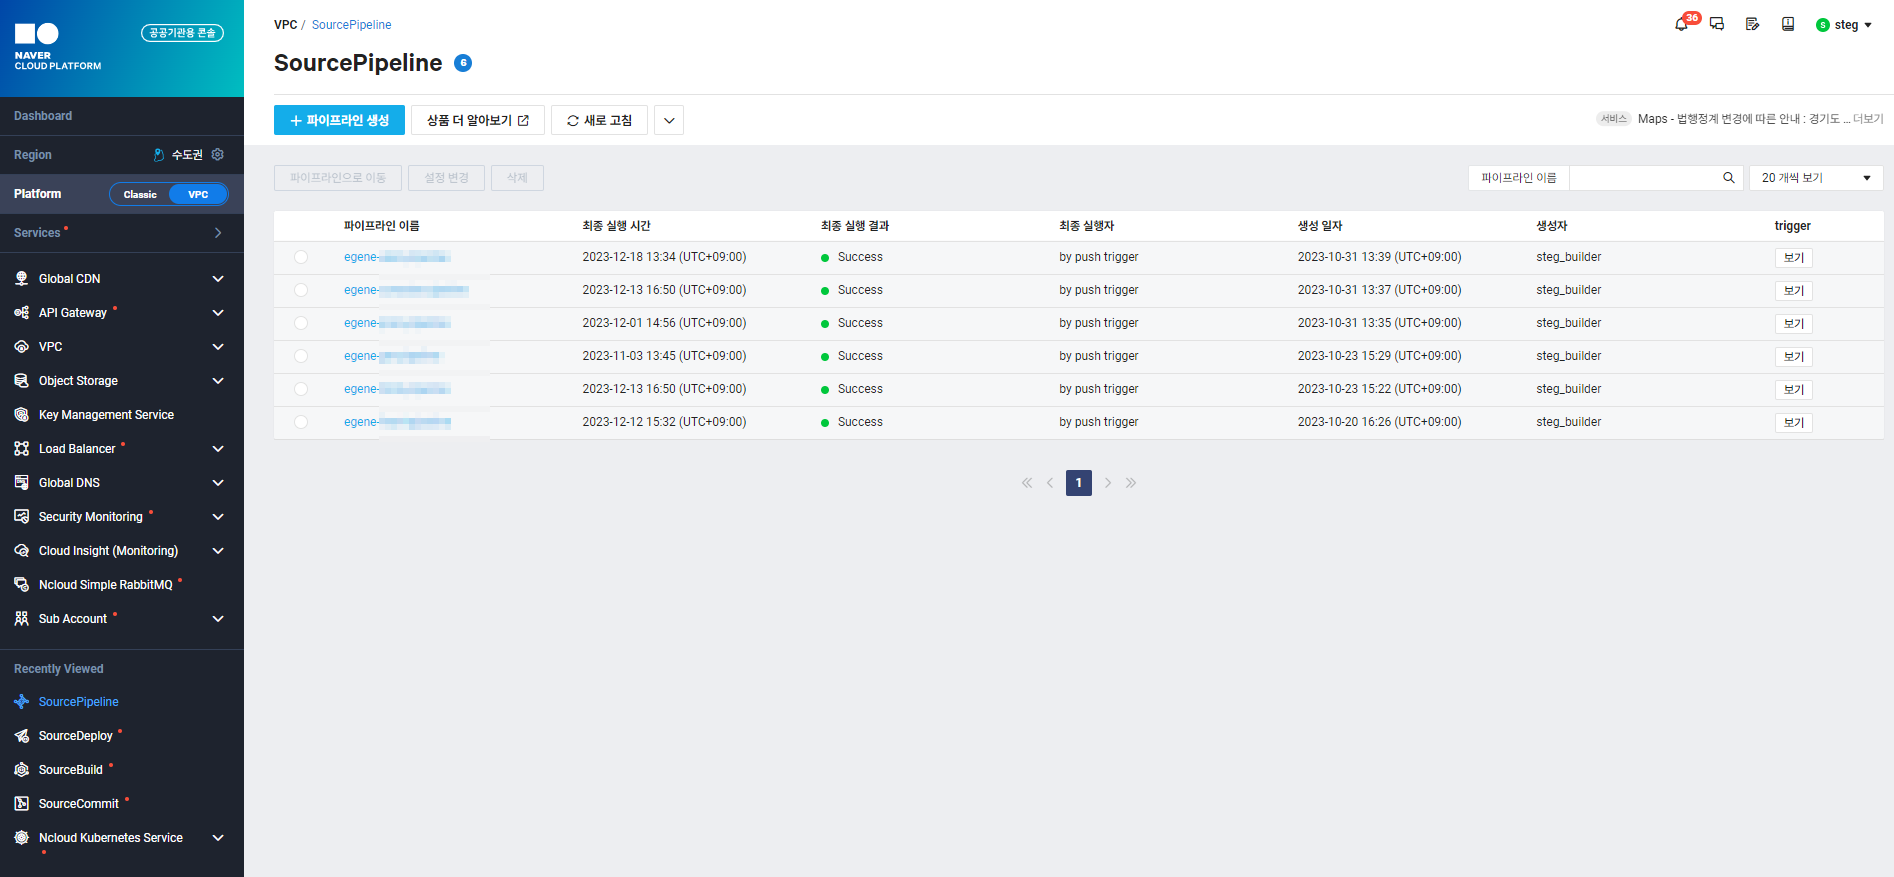
[Figure 6] SourcePipeline
3. Key Features
For API Authentication/Authorization, we confirmed that login authentication is handled via sessions. STEG stores session information in Naver Cloud’s Cloud DB for Redis.
We used the RedisInsight tool to verify sessions. Session IDs can also be checked via the browser’s developer tools (Network or Application tabs).
After obtaining the session ID from developer tools, we queried it in RedisInsight, which displayed the session data. For security, STEG accessed RedisInsight through Naver Cloud SSLVPN.
Enter the session ID in the search bar to retrieve the data.
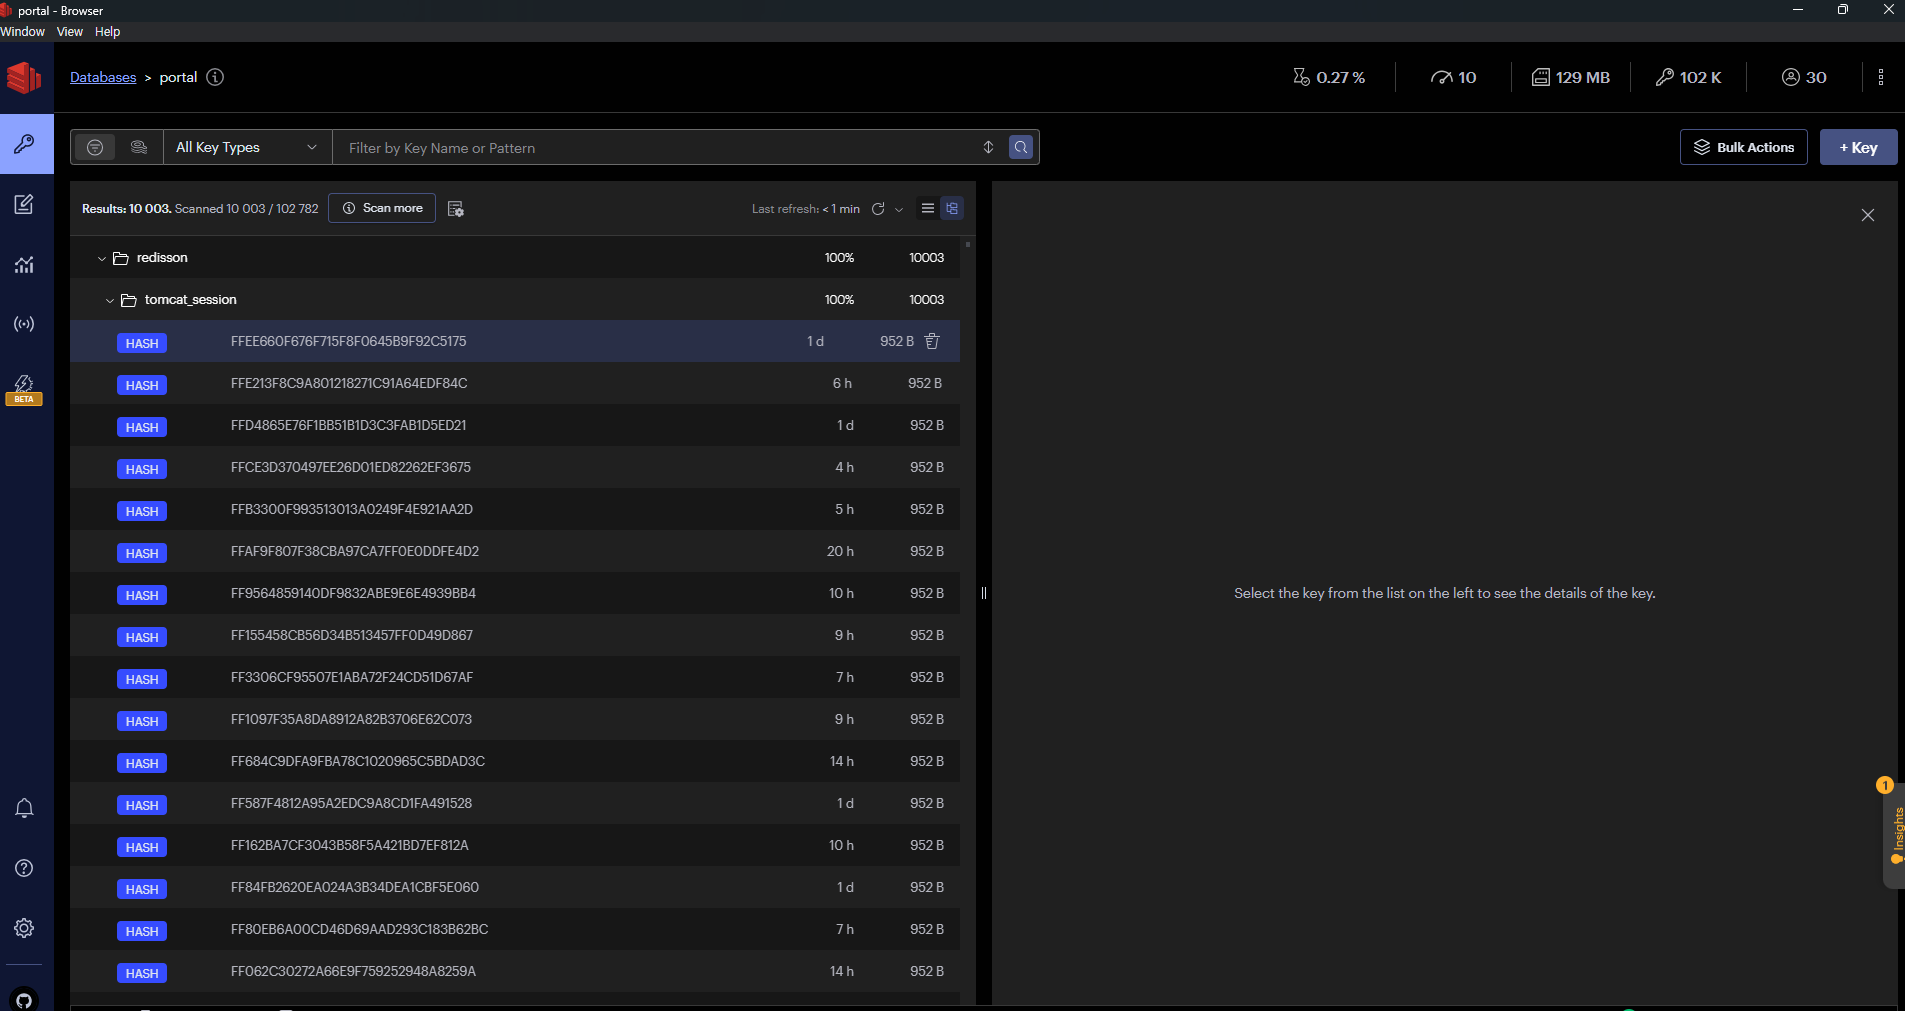
[Figure 7] Session Query in Redis
4. Data Backup and Recovery
This involves two detailed checks: recovery of user-generated data and recovery of user account information.
STEG uses Naver Cloud’s Cloud DB for MySQL (CDB), which performs daily backups by default. To prevent data loss, backups are also stored in a separate southern-region data center.
CDB recovery can be done by creating a recovery DB in the Naver Cloud console, exporting necessary data, and importing it, or by creating a new DB and updating the connection URL.
For minor data loss, the first method suffices; for major loss, the second method is recommended.
Here’s a brief overview of recovering identified lost data:
Log in to the Naver Cloud console and go to Cloud DB for MySQL > Backup.
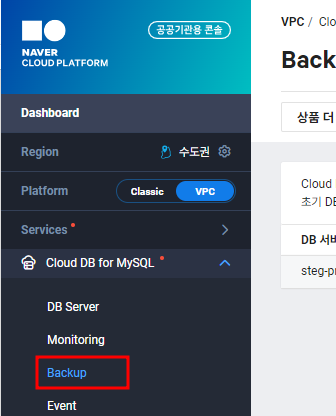
[Figure 8] Console Menu
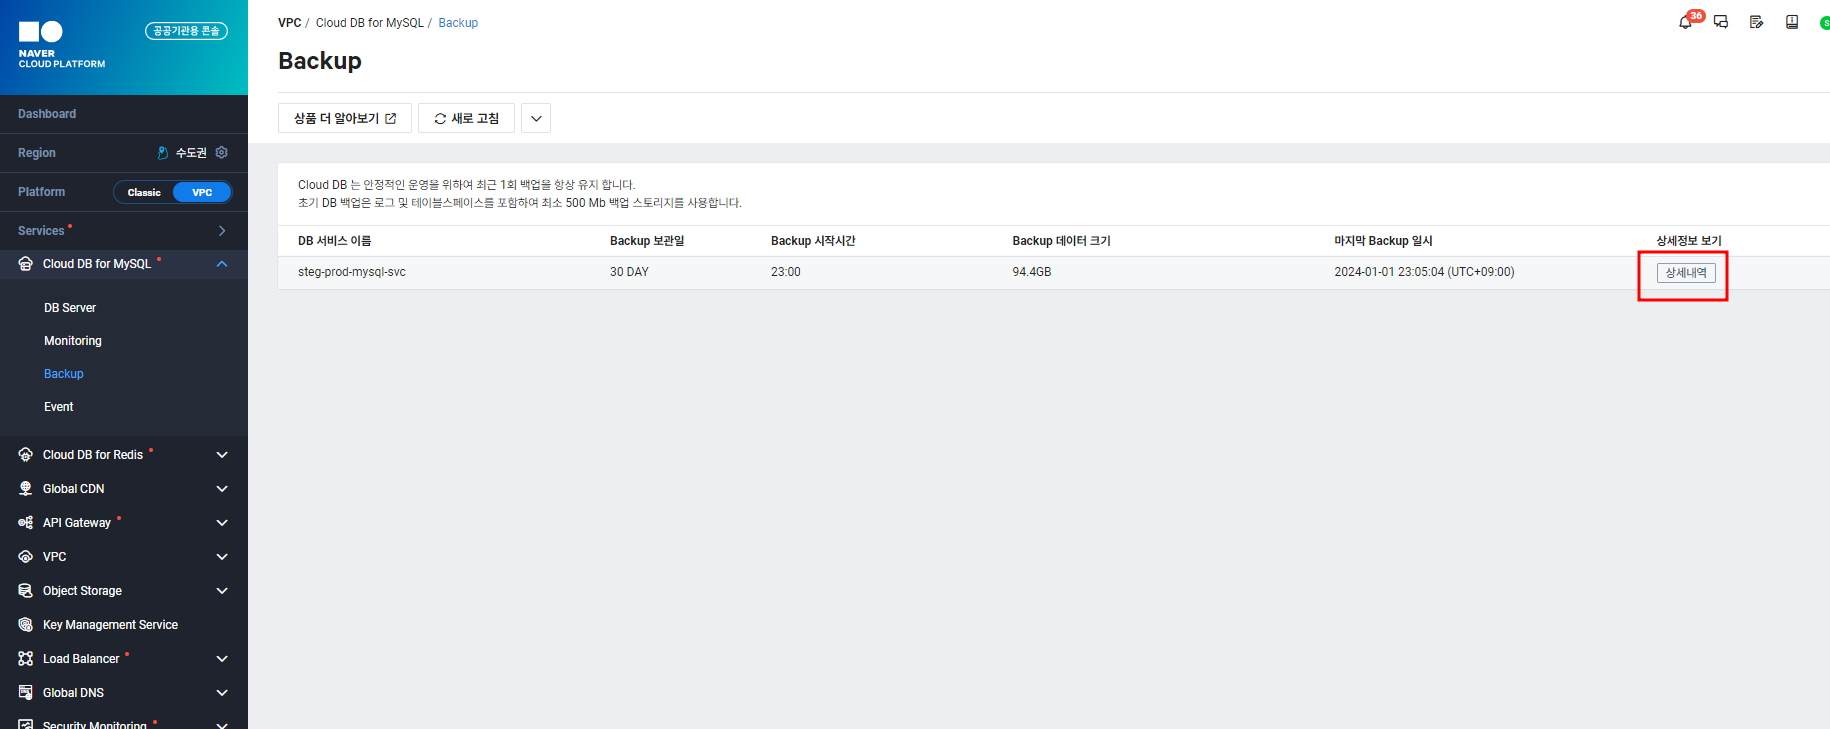
[Figure 9] Backup Screen
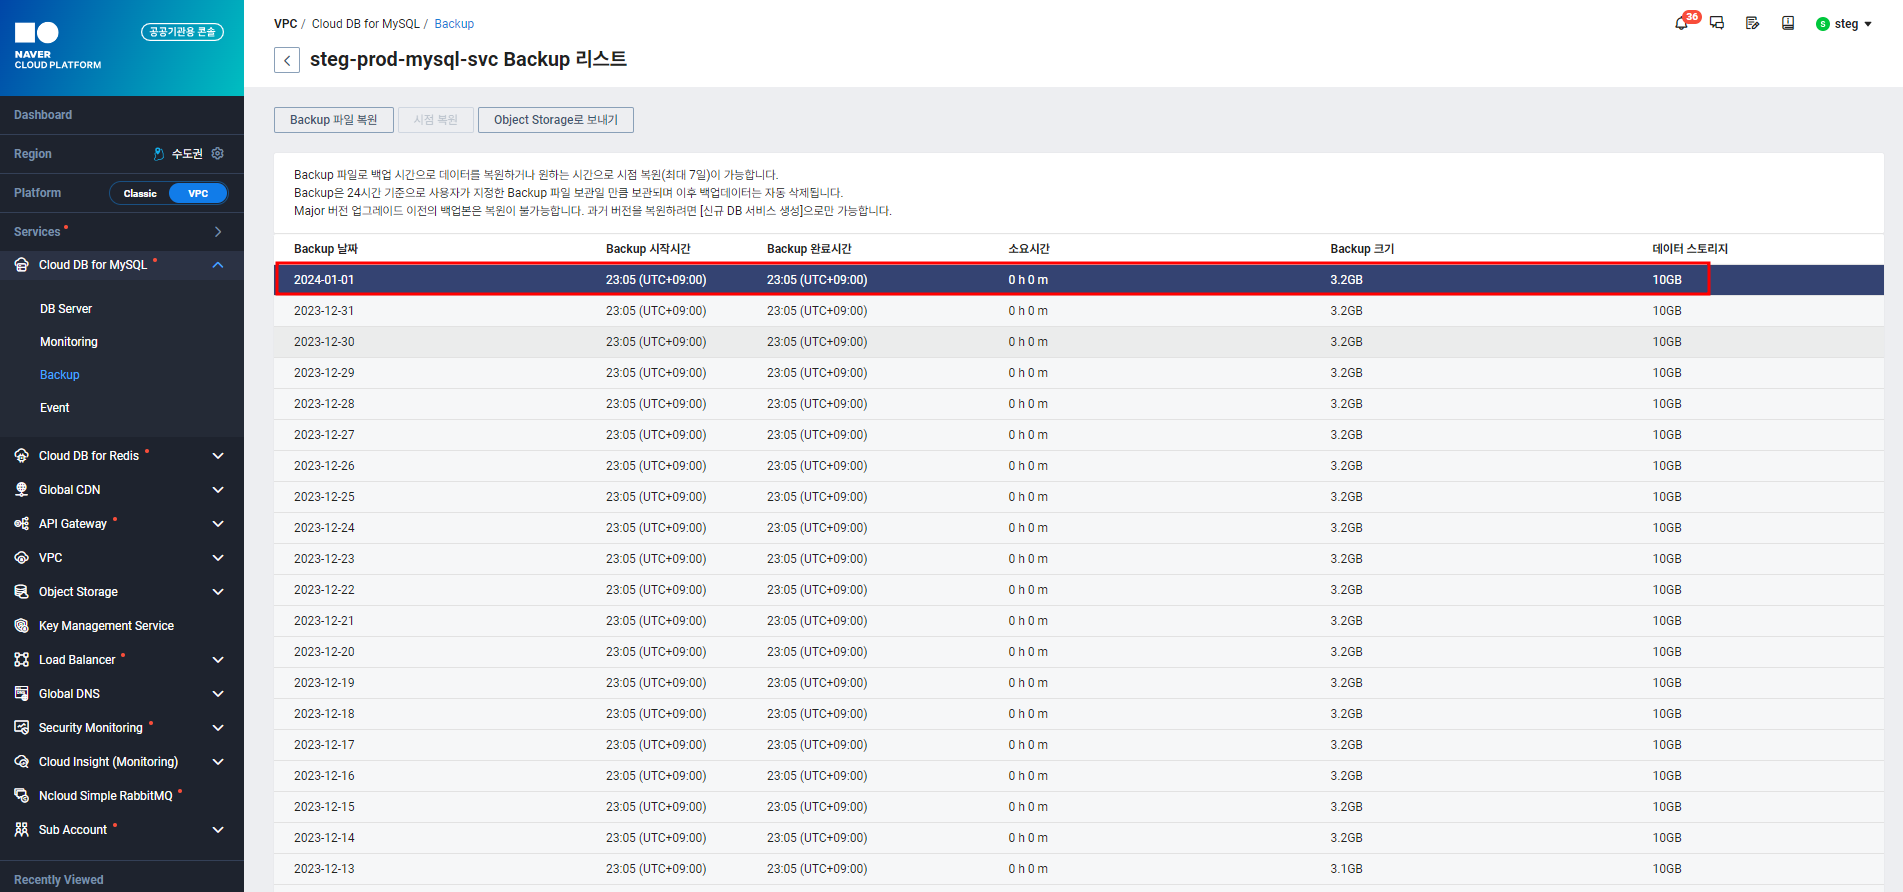
[Figure 10] Select Backup File
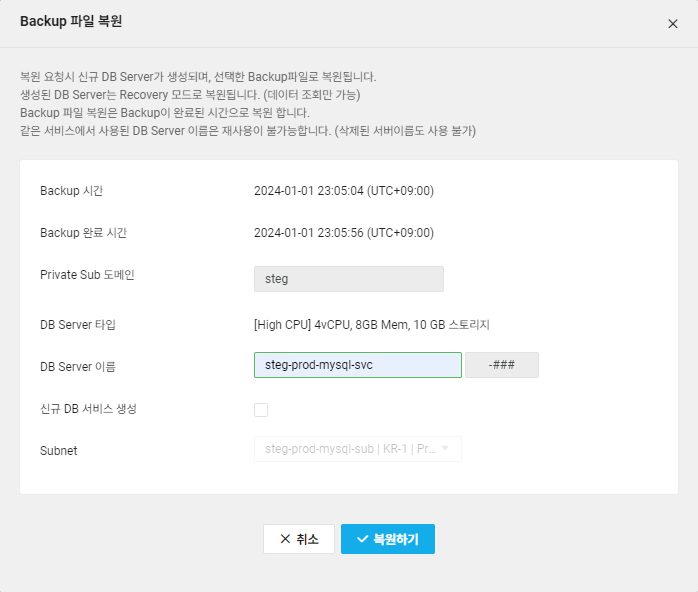
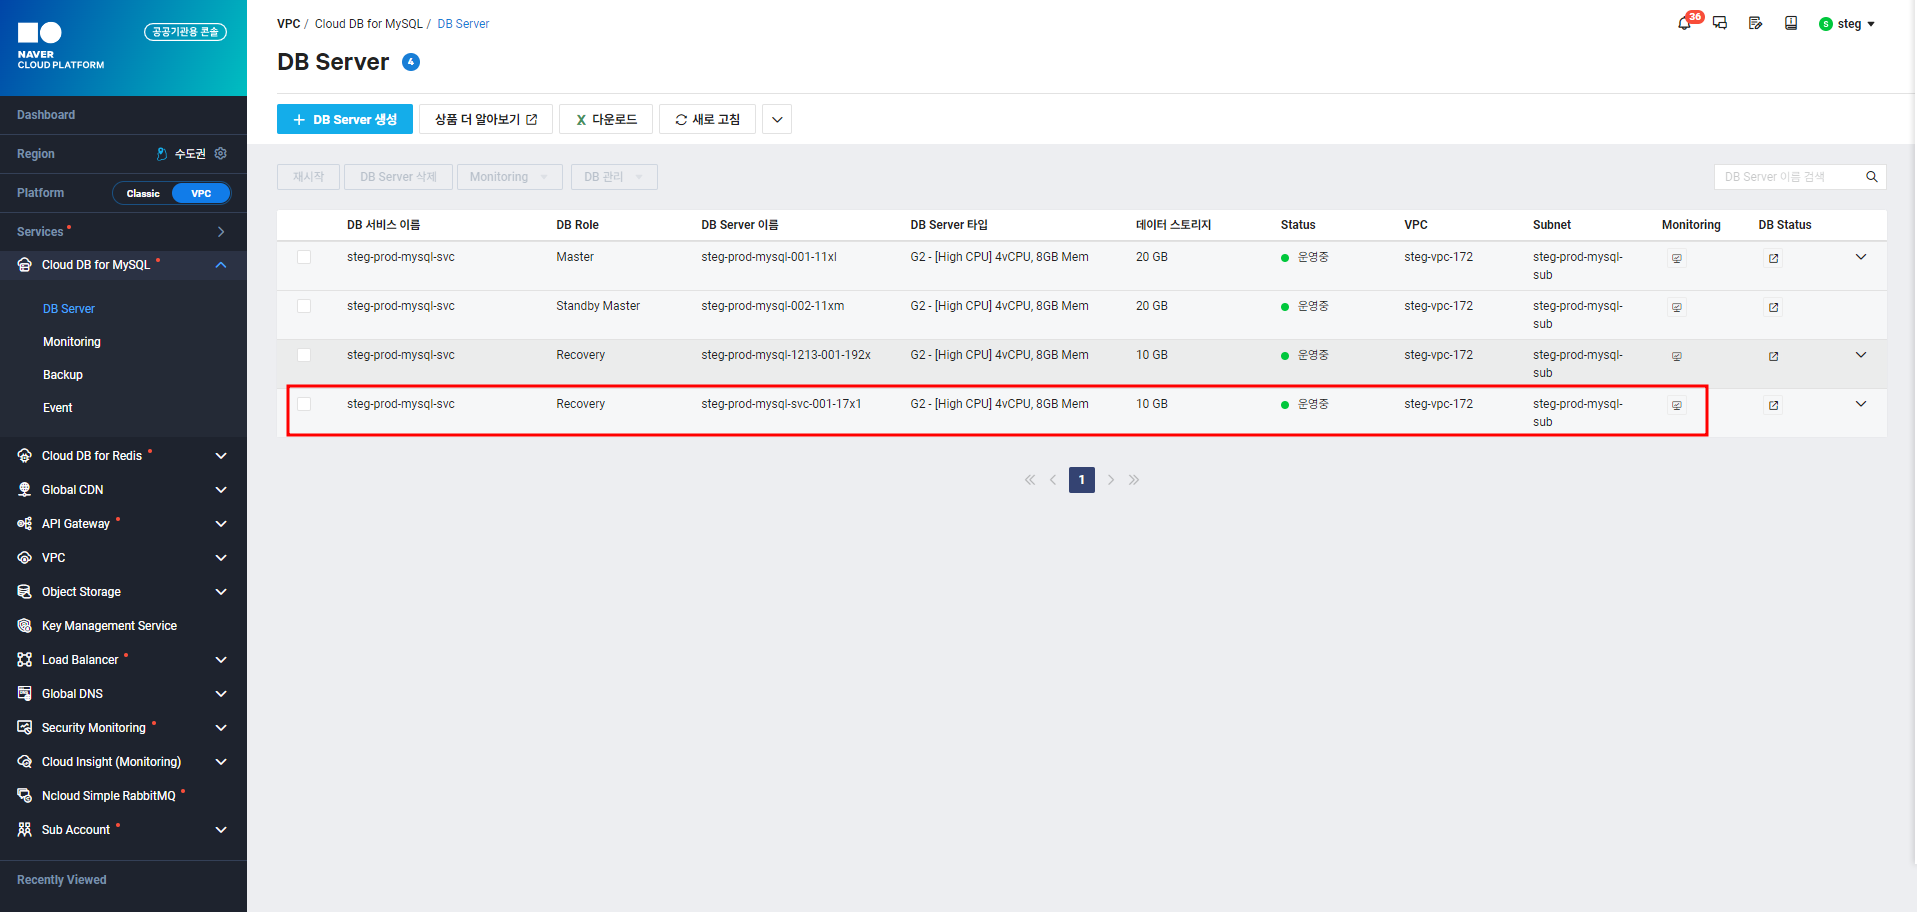
[Figure 12] Recovery DB Created
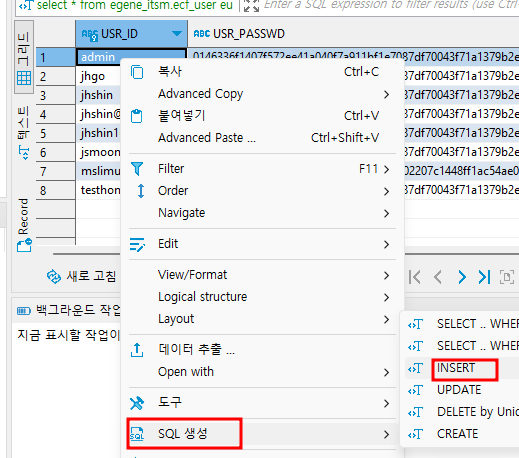
Connect to the recovery DB. 
[Figure 13] DB Connection in DBeaver
5. Conclusion
This concludes the introduction to the inspection process for Compatibility and Conformance Test Certification on Open Cloud Platform (K-PaaS).