Community
Creating Project Videos Easily
- AuthorAdministrator
- Date2021.12.14
Creating Project Videos Easily
These days, many people are interested in video editing. In addition, during projects, there are often situations where you need to create project introduction videos or video manuals for work purposes. So, I’d like to introduce programs that are easy for beginners to use and convenient for creating video content during projects.
Personally, I often use professional tools like Adobe programs or Final Cut Pro for advanced video design and editing. However, in this article, I’ll introduce free editing programs that are simple and beginner-friendly.
Why These Tools?
As personal video production becomes more common and screen capture is frequently needed, many recording programs like Camtasia, oCam, GomCam, and Bandicam are widely used. Among these, I’ll share tips on using oCam and GomMix, which allow beginners to easily edit videos, add subtitles, and create high-quality content.
oCam offers both free and paid versions, but the functionality is almost identical, making the free version very practical.
Step 1: Recording Your Screen with oCam
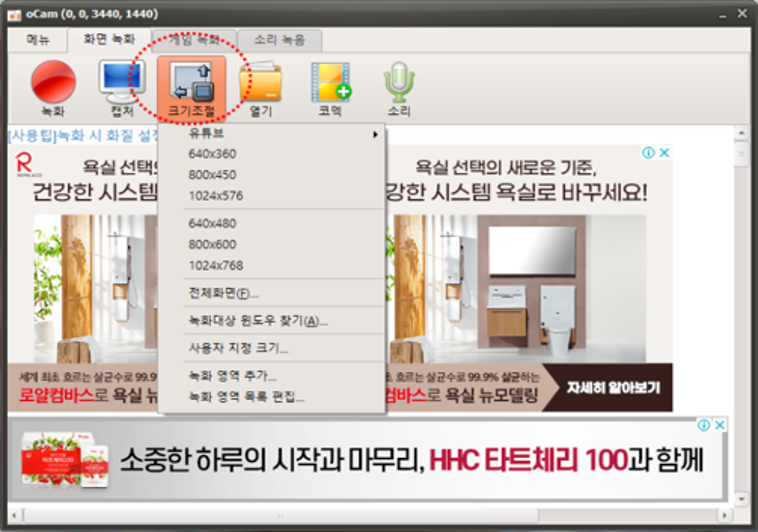
Before creating video content for a project, you often need to record or capture your PC screen. oCam lets you select and fix recording sizes or choose custom dimensions and full-screen options. This flexibility is useful because video quality varies by frame size.
After recording with oCam, you can use GomMix for cutting and editing. GomMix separates video and audio, making trimming and editing simple. You can also add subtitles and other resources easily, improving video quality.
oCam Features
oCam is a lightweight, intuitive screen recording program that anyone can download and use easily. Its biggest advantage is that it’s free for personal use.
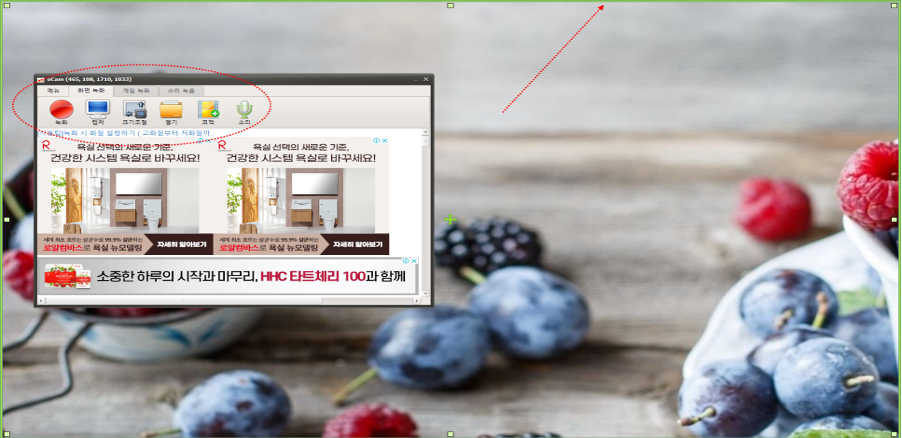
[Figure 1: oCam Screen Recording]
Limitations:
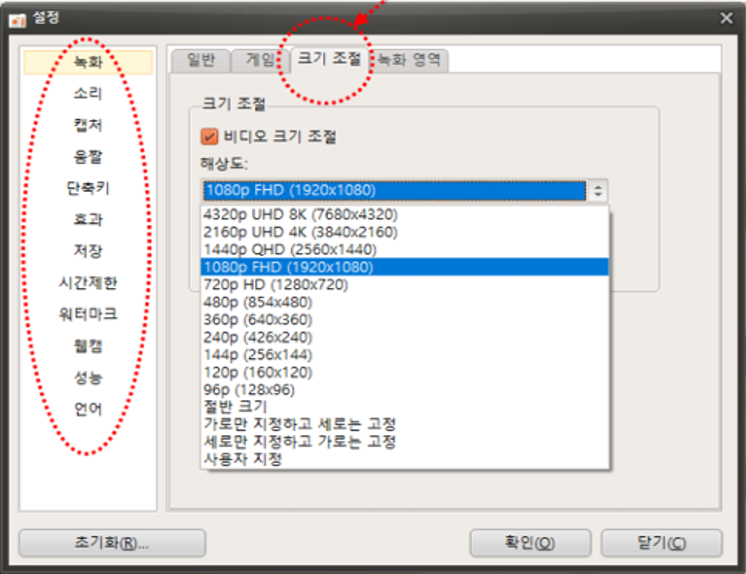
The biggest drawback is that you cannot change the recording resolution during editing. The most commonly used resolution is FHD 1920 x 1080, but if your recorded video is 720px, editing will be limited to that size, resulting in lower quality output. While you can adjust output settings, enlarging the size won’t improve quality.
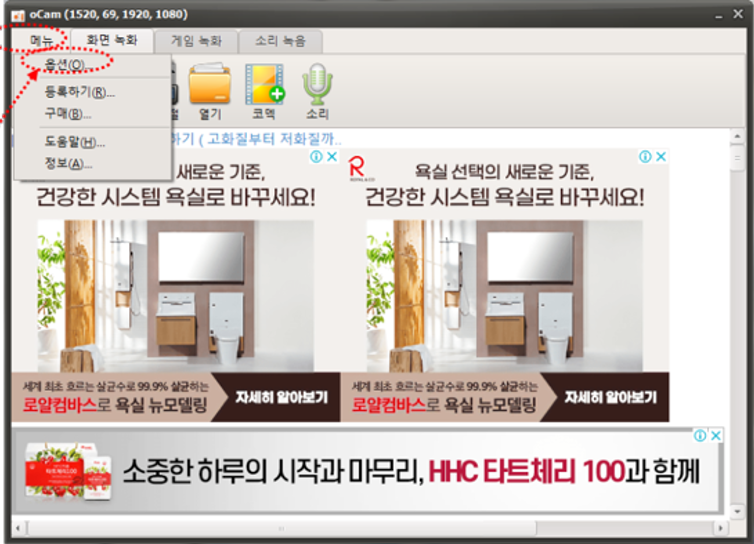
Basic Setup Steps:
1. Install oCam and configure options.
2. Set resolution to FHD 1920 x 1080.
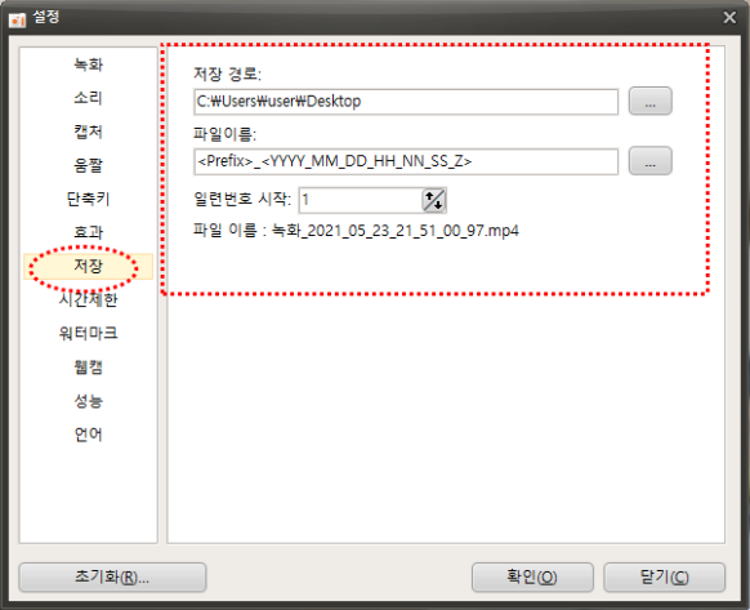
3. Change the default save path to something easy to find.
4. Use the size adjustment button to set the recording area.
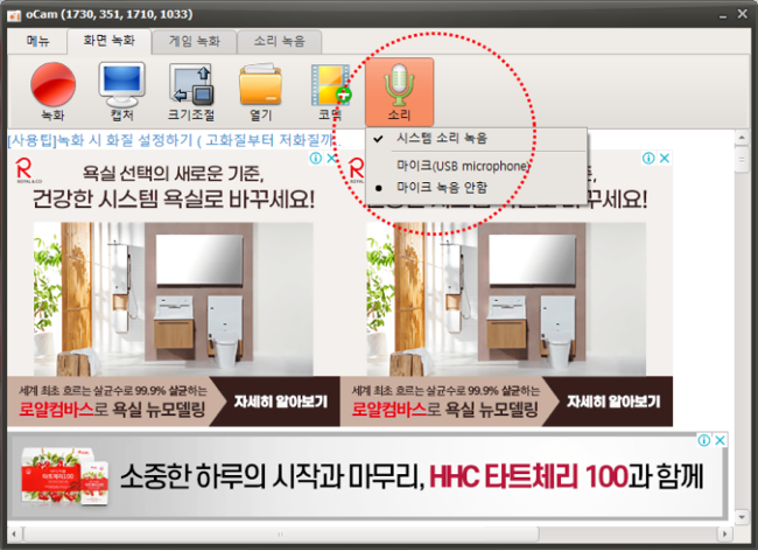
5. Enable audio recording as needed.
Before recording, adjust the area size. For full-screen recording, select the full-screen option to match your monitor resolution. For specific sections, use custom size and drag to select the desired area.
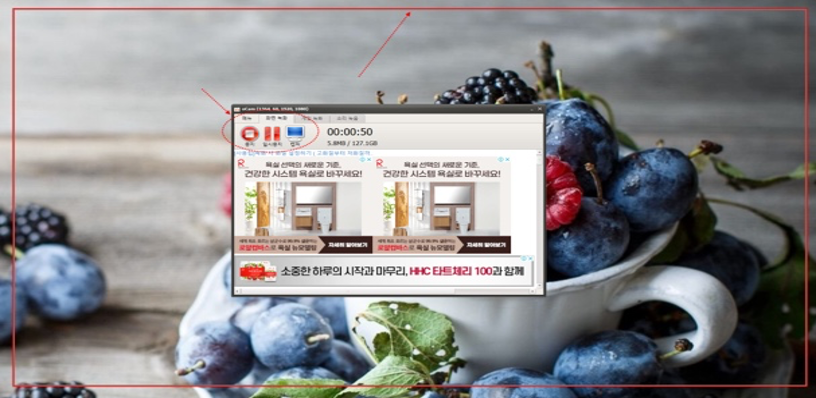
6. Recorded screen via full-screen recording.
Advantages:
Unlike some programs, oCam does not add watermarks and rarely experiences lag during recording.
Step 2: Editing Videos with GomMix
GomMix is one of the most popular free video editing programs. It offers lifetime free use of all basic features, with a paid version available to remove watermarks. GomMix Pro is ideal for online lectures, YouTube videos, and photo-based videos, but beginners can achieve great results with the free version.
1. Before You Start:
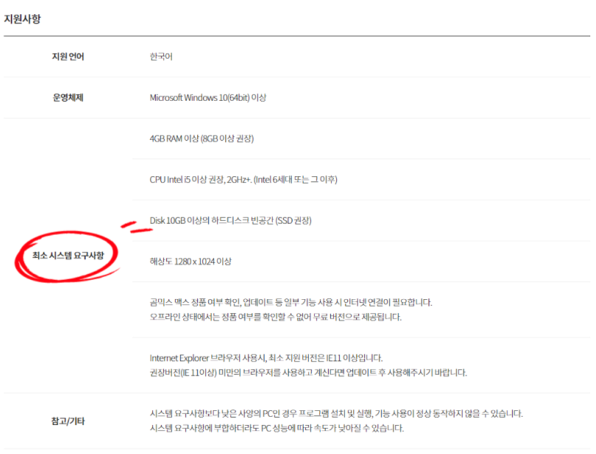
Check your PC specifications to ensure smooth performance. GomMix supports both Windows and Mac.
2. GomMix Interface
The UI is intuitive, with menus, a workspace, and a preview window for easy editing. You can drag and drop files for quick access and use the preview pane to check your edits.
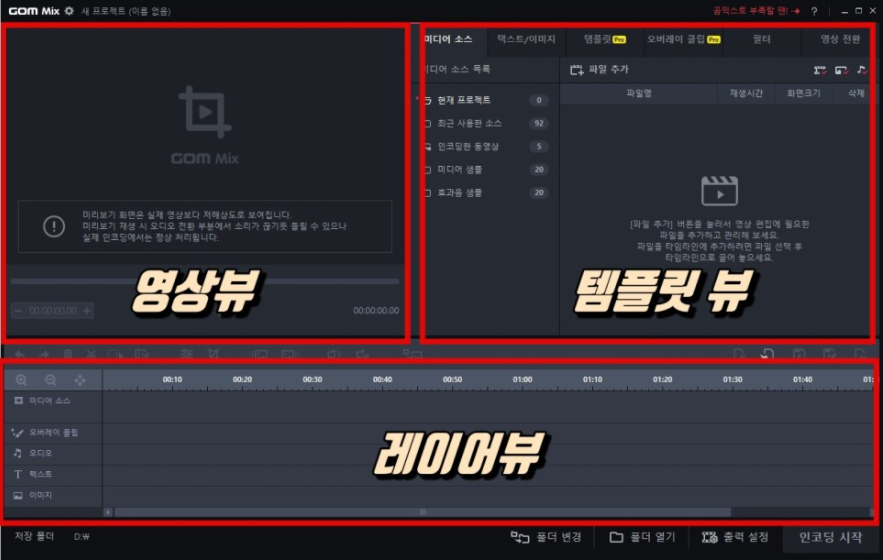
Key Settings:
- Change resolution from 1280 x 720 to 1920 x 1080.
- For MP4 output, set compression to MPEG-4 Audio.
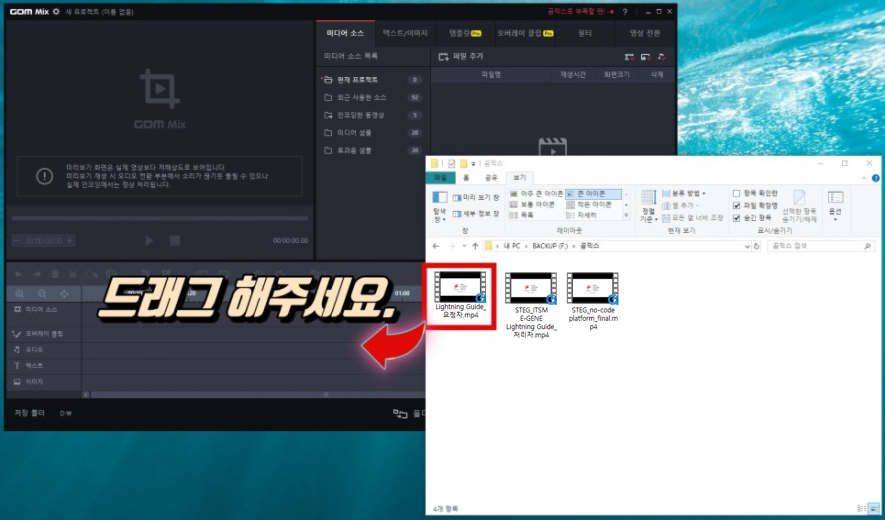
3. Add Files
Drag and drop files into the timeline.
4. Edit Videos
Trim clips, add subtitles, insert BGM, and apply effects easily.

Advantages:
- Simple and beginner-friendly
- Includes free music and effects
- Fast encoding and upload (as quick as 10 minutes for short videos)
- Offers professional-looking transitions, overlays, and opening/closing effects
Tip: Best for short videos rather than long ones.
Final Thoughts
As explained above, these tools make video editing easy for beginners. With practice, you can produce results that look professional. Since all features are available without time limits, try them out first, and if needed, upgrade to professional paid programs later.
For additional guidance, check YouTube tutorials for detailed instructions—they make editing even easier. Now, creating videos for your projects doesn’t have to be difficult!
STEG PS&P Team – Sujin Na